eDNA Surface Swab Collection
This protocol is designed for surface swab sample collection using an EnviroDNA eDNA kit. For the best results, review our instructions before starting your survey to help avoid inconclusive results. More information on tips for avoiding contamination and other sampling considerations are found here. Once sampling is complete, return your samples safely to our laboratory for analysis.
Kit Contents
- Sample kit with data label
- Gloves
- Preservation buffer(s)
- Swab(s)
Protocol
Step 1 – Safety
-
Be aware if the surface you are sampling is a potential source of pathogens.
-
Wash your hands thoroughly after sampling.
-
The preservative solution is an irritant, always wear gloves and safety glasses.
-
Avoid contact with skin and eyes.
Step 2 - Gloves
-
Open your kit and place on the gloves.
Step 3 – Organise equipment
- Take out your sampling equipment and familiarise yourself with the components.
- Clearly label your sample with the site, date, and GPS co-ordinates.
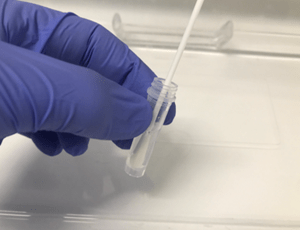
Step 4 – Preservation buffer
-
Open the preservation buffer and pre-wet the swab with preservation buffer.
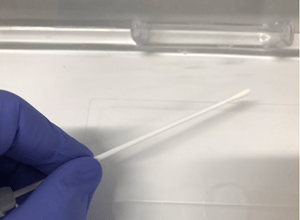
Step 5 – Swab the surface
-
Thoroughly swab the enclosure, surface, or scat covering all surfaces likely to have been in contact with an animal.
-
Rotate the swab so that all sides of the swab surface are exposed to the surface.
-
Note: the swab may become discoloured.
Step 6 - Cap and repeat
-
Replace the preservative buffer cap and firmly tighten.
-
Repeat sampling process with a second swab and preservative buffer.

Step 7 – Pack up
-
Place the sealed tubes containing the swab and preservative buffer into the kit bag.
-
Ensure all details have been filled out on the label on the zip lock bag (site, date, GPS co-ordinates)
Step 8 – Return samples
-
Place appropriately labelled zip lock bag and tightly sealed vials containing sample in a suitable parcel and send them via express post or courier.
-
Delivery and drop off address: EnviroDNA, Level 1, 95 Albert St, Brunswick VIC 3056